UV UNWRAPPING
UV unwrapping
Calculate UV seams and islands, then inspect the 2D layout and 3D model together.
Last updated: 2026-08-20
UV unwrapping maps a 3D surface to a 2D canvas so image textures can cover it accurately. Unwrap after retopology for more stable results.
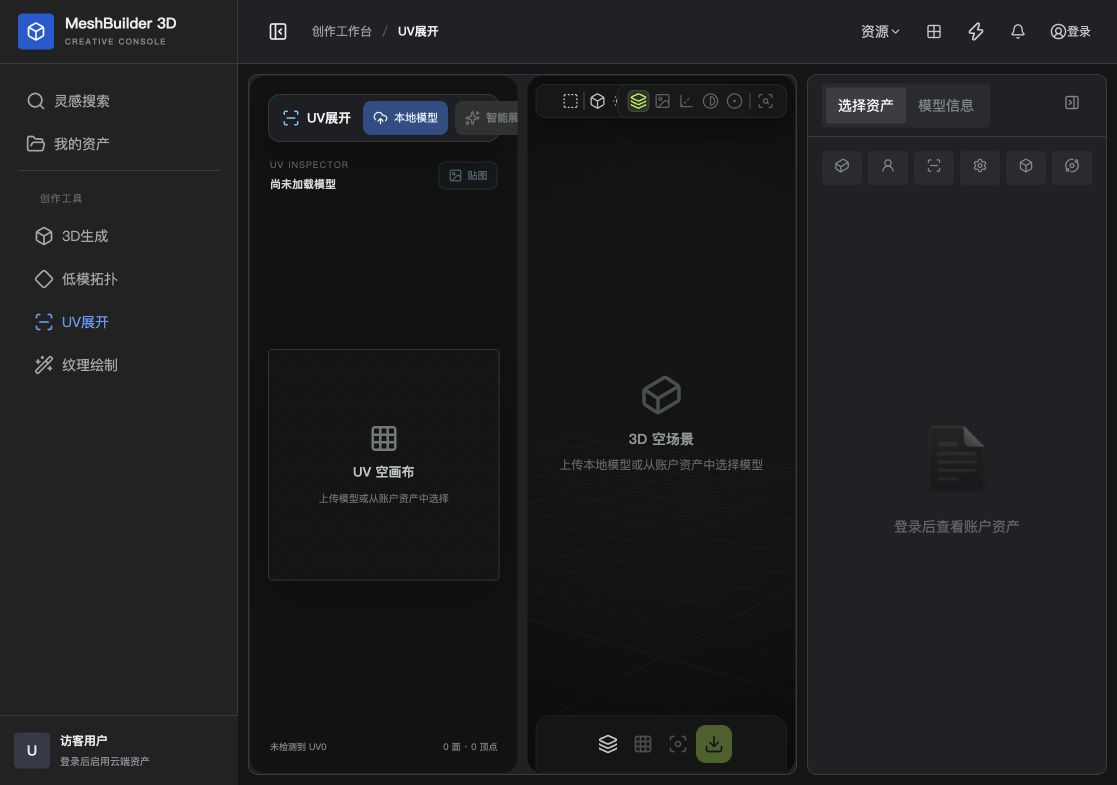
Understand the dual view
- UV canvas
- Shows islands, edges, polygon and vertex counts for checking overlap and space usage.
- 3D scene
- Shows the model surface and its corresponding UV regions.
- Asset panel
- Choose an account model or inspect the current model.
Procedure
- Load a model
Upload a local model or choose an account asset.
- Inspect the source
Confirm orientation, silhouette and mesh quality.
- Unwrap
Start automatic unwrapping and wait for seams and islands.
- Inspect UVs
Look for overlap, stretching, tiny islands and wasted space.
- Save
Save the result and continue to texturing.
Quality checks
- Leave enough padding between islands
- Give important visible areas higher texel density
- Decide whether symmetric parts should share space
- Keep seams away from faces and focal areas
- Use a checker texture to find stretching
Create the finished appearance on the unwrapped model.
→